There I was, minding my own business during one of our city shopping trips, all prepared to spend what was necessary, and only what was necessary, on organic produce when The Wife mentioned she wanted to stop in Hobby Lobby (There's one near our Whole Foods) and pick up some nice ribbon to dress up a card she would be sending soon.

Well naturally, being the brutish clod I am, I soon bored of the rack of pretty ribbon and wandered off on my own.
First destination was the puzzle aisle because - well, what's an addict supposed to do?
With my just-got-to-have-it find in hand I then wandered towards the modeling section and found a display of something called Metal Earth which I thought was interesting enough to warrant a browse.
Predictably, I ended up walking away with yet another just-got-to-have-it find. After all, I needed something to occupy my other hand didn't I? And it's a train!
The Wife's ribbon cost a few pennies, my crap cost quite a bit more than that. . .
So, (he says, ignoring the hit to the budget) just what is Metal Earth? The back of the box answeres that question.
Sort of.
But until I opened up the box (Which, like a kid at Christmas, wasn't all that long after we got home again. . .) I had no concept of the level of detail etched into those 5 metal sheets (Unlike this boxed set, many of Metal Earth's models consist of a shingle metal sheet with instructions, all packaged into little more than a stiff envelope.) nor the complexity of the finished model.
Fortunately the clearly written (drawn?) instructions include a map of the metal sheet and point out the various parts with numbers that match the assembly instructions.
For a glimpse of what your finished product should look like (And when it comes to models, should and does are often two separate things.) Metal Earth's website includes 360 views of the finished model.
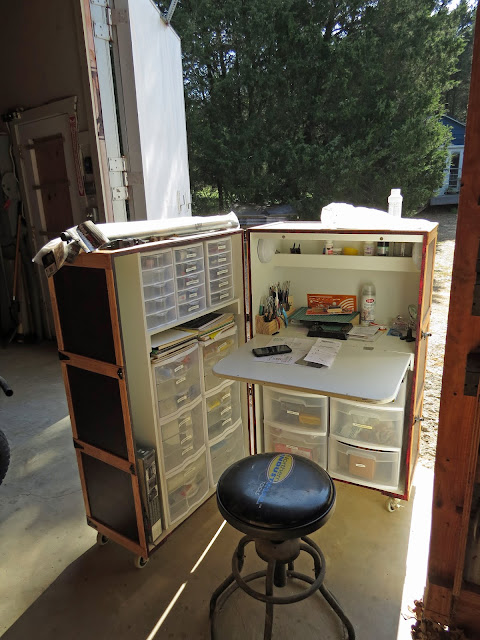
Eager to try this new stuff out, the next morning I wheeled my modeling station over to the east end of the barn where the light was good, and got started.
As advertised, it takes no glue or solder to assemble the model, but dang! some of these parts are a bit on the small side!. (Can you see the bolt detail etched into the central square?)
Such as this one that represents the brake-valve. Yep, even the bottom of the model is detailed with laser-etched brake rigging and applied reservoir, brake-valve, and brake cylinder.
The metal is surprisingly stiff and measures just a little less than 1/64th of an inch thick. All the bend or fold lines are etched so I got crisp, clear bends; but just, as the instructions warn, don't bend a joint more than twice or it might break. (Don't ask!)
Bends are best done with tools and not just fat-fingers. The box says tweezers are the ideal bending tool, and they are,just as long as its for small parts and tabs. For larger bends of the surprisingly stiff metal I found needle-nose pliers to grip one side and the flat side of a small file to fold the other side into the proper bend worked best. (This project pointed out to me that all of the half dozen needle-nosed pliers I have tucked around in various places are pretty much crap when it comes to fine work like this. Oh well, something else to spend money on. . .)
The slots are cleanly cut and the tabs used for holding everything together fit nicely, and in most cases a simple twist of the tab once it's inserted into the slot tightens the parts up nicely.
A couple of hours later I had something that bore a passing resemblance to the images on the web site. And I had three more cars and an engine left to build!
With limited impulse control, over the next couple of days I built two more of those cars before I could stop myself.
But stop I did.
Because the un-assembled model itself is just a thin sheet or two of metal and a page of instructions, and it only takes a small assortment of tools to build one of these, I re-purposed the box the set came in, which is only slightly larger than a CD case, and now everything I need to do some modeling is tucked away in The Van just waiting for my next trip.
Because their packaging is so compact there's room in the box to add quite a few additional models and I've been poking around the web-site to see which ones I want to tackle after I finish this train.


What a neat thing to be building.
ReplyDeleteI've since stocked The Van with a couple more of them to make sure I don't run out.
Delete